I went back and forth with what statement piece I wanted to put behind the crib. At first, the plan was for John to construct a barn door to look a little something like this:

This would be a huge commitment and because I pester the poor soul enough these days I started to think of Plan B. Plan B was to purchase an antique door and I found a couple great options while antiquing last weekend, but with a stained pine dresser, a white crib, and a distressed bookcase there were too many wood pairings. I was afraid it may look like a huge cluster. That's when Plan C popped into my brilliant brain: framed chicken wire. And not just a regular wood frame, a wood frame covered in sticks and branches. Yes, that is a big DIY to take on with 4 weeks to go, but John was game.
I purchased two simple prints early on that were somewhat inspiration pieces for the entire nursery:
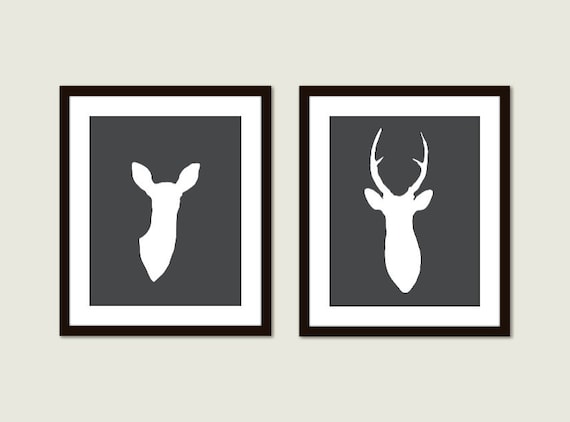
Without a doubt, they would be hung above the crib, but I didn't want to matte and frame them. There is already enough of that going on on the gallery wall above the dresser. With the new chicken wire idea, I thought it would be cute to hang them from clothespins on a string of twine. And we all know what else I like to do with burlap and twine...HAMMER BANNER TIME.
With some leftover burlap hanging around the house, I cut out 6 very imperfect banner triangles. Because burlap tends to fray, I dabbed on some Fray Check around the edges. After about 15 minutes of drying time, I placed a 5" letter stencil on each pendant and taped into place.

Using stencil paint (I used Stencil Magic Stencil Creme in "Snow White" found at Hobby Lobby) and a sponge brush I filled in the letters.

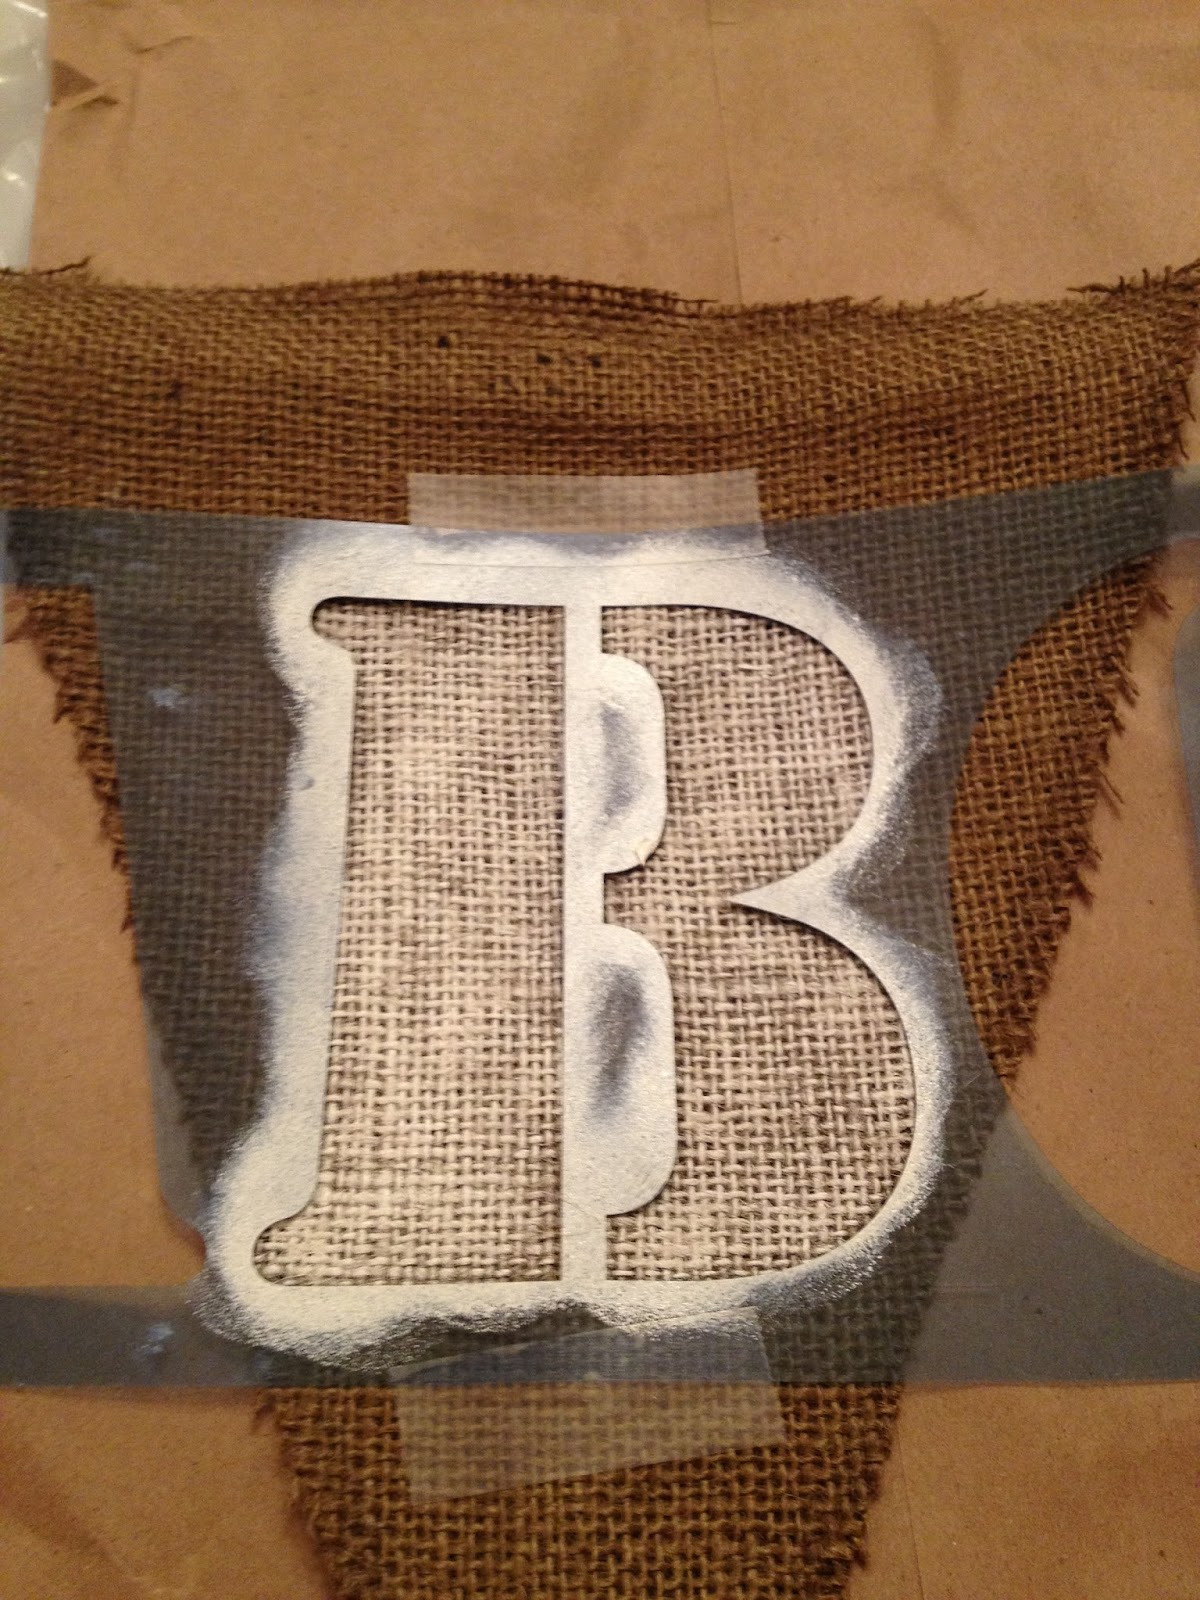
You really should let the paint dry before you remove the stencil, but I lack patience and ripped that puppy off as soon as I was done sponging. No harm done.


...but not for the instructed 24-48 hours. I waited about 20 minutes. Again, impatience. It gets the best of me.
With my trusty ball of twine and a steel yarn needle (made by Yarnology--also purchased at Hobby Lobby) I got to sewing, starting with the last letter of his name. Now that I think about it, I could have started with the first letter and that would have probably been easier. You live, you learn.
.JPG)
In no time, the banner was finished! I hung it on Brooks' dresser to finish drying (better late than never).
.JPG)
I love how it turned out and cannot wait to see it paired with the deer prints. I also can't wait to get started on the framed chicken wire. Hopefully, we will have it put together and hung by the end of this weekend. Again, hopefully. MUST. NOT. PESTER.
John is finally home from his big hunt (I was so excited to see his handsome face this morning) so tonight is the night I have been waiting for: crib construction!


I love the banner! I can't wait to see the whole room in its finished self. Keep on posting!
ReplyDeleteThanks Sara!
DeleteThat is so cute! I can't wait to see the rest come together!
ReplyDeleteThank you Anna! I can't wait to see the progress on your nursery :)
DeleteAlways enjoy reading your blog and seeing what you're up to! As usual, you've been clever and creative again! Way to go on the huge savings for the high chair and accessories.....that's my girl!!!!!! Bravo!
ReplyDeleteDad & I think you have a future as a magazine writer and/or editor. Always entertained by your posts!!!!
Love,
Mom
Thanks Momma! LOVE YOU.
Delete